
1. In Medisoft, go to Activities, then Revenue Management, then Revenue Management.
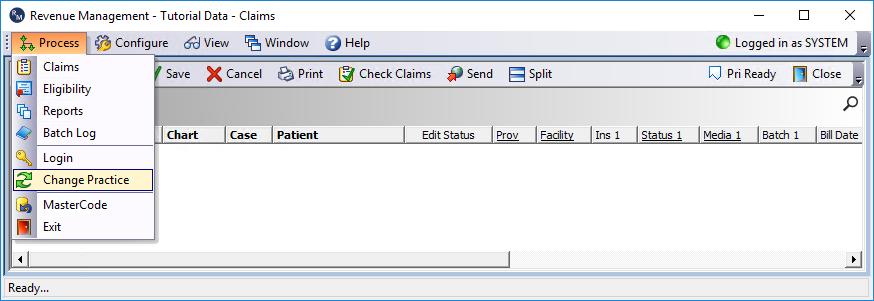
2. In Revenue Management, go to Process, then Change Practice.
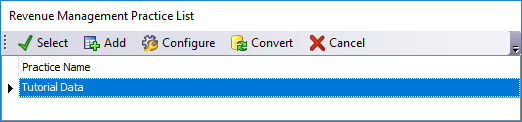
3. In the “Revenue Management Practice List” screen, select the target Practice database, then click Configure.
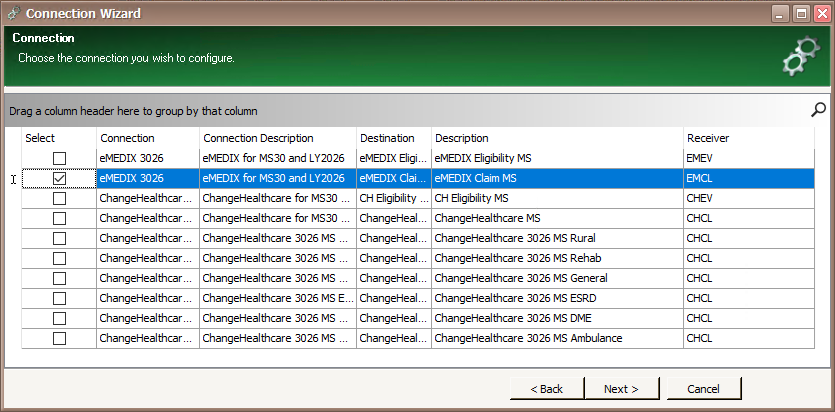
4. Click Next on the Connection Wizard screen.
5. Enter Medisoft Login Name and Password, then click OK.
6. Select the “eMEDIX Claim MS” connection, then click Next.
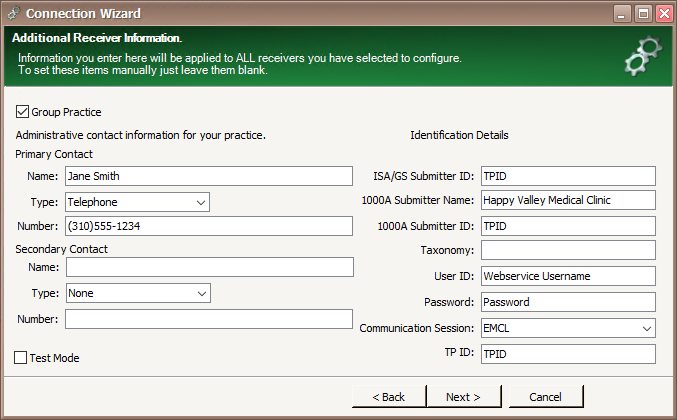
7. Enter info into the “Additional Receiver Information” window. Check/select the Group Practice option if it is true. Enter Primary Contact info (Name, Type, and Number). Enter the Identification Details as seen in the example below. The 1000A Submitter Name should auto-populate based on the Practice name. Looking at the following example, replace “TPID” with the actual eMedix-assigned TPID, and replace “Password” with the actual eMedix-assigned Password. Replace “Webservice Username” with the actual eMedix-assigned value. Click Next to continue.
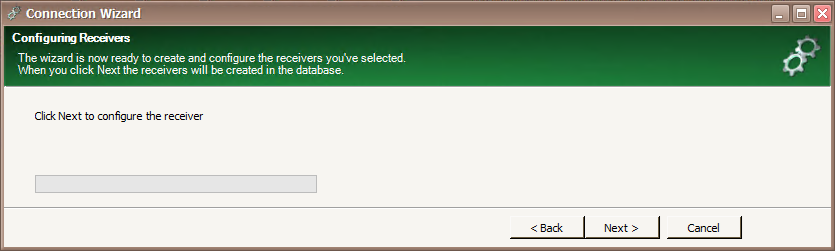
8. Click Next on the “Configuring Receivers” screen.
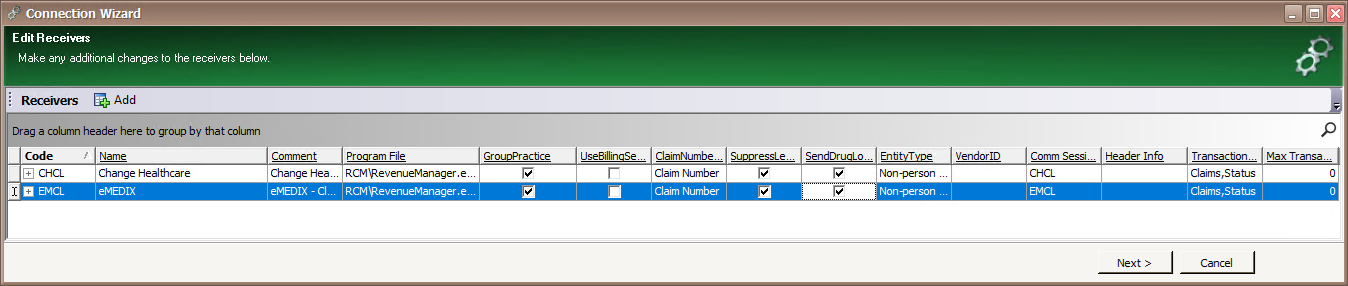
9. Check the “EMCL” line to verify settings and populate values as needed. The Program File field should contain “RCM\RevenueManager.exe”. Check/select the GroupPractice option if it is true. It is generally ok to select SupressLegacy and SendDrugLoop options. The EntityType should be “Non-person” if it is a group practice, or Person if it is not a group practice.
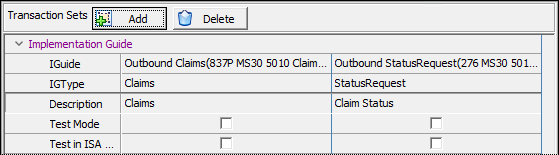
10. Click in the field, on the “EMCL” line, under the Transaction Sets column. Verify the iGuide for “Claims” is set to either “Outbound Claims(837P MSXX 5010 Claim – Standard)” for Professional claims, or “Outbound Claims(837I MSXX 5010 Claim – General UB04)” for Institutional claims (replace XX with actual Medisoft version). Click Next to continue.
11. Click Finish on the final screen of the Connection Wizard.
12. If the client is also signed up for Eligibility Verification, complete the above steps again, but in Step #6, select the “eMEDIX Eligibility MS” connection.
13. To configure Insurances in Medisoft, go to Lists, then Insurance, then Carriers.
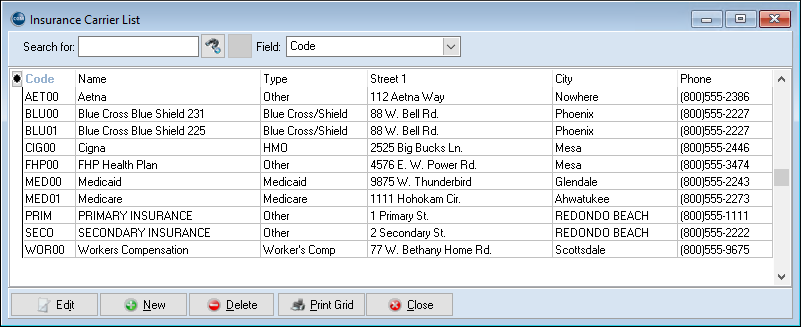
14. Select desired Insurance, then click Edit.
15. Change EDI Receiver (Primary and optionally Secondary), from “CHCL” to “EMCL”. Leave the existing Change Healthcare Payer ID as-is. eMedix will auto-convert the Payer ID to the eMedix equivalent. Even for Payers who require agreements, eMedix will send the claims to Change Healthcare until the agreements are changed over to eMedix.
16. Click Save when finished.
17. Repeat as needed for each Insurance.
To complete the setup of eMedix for Medisoft following the migration from Change Healthcare, ensure that you have selected the appropriate insurance carriers in the system. Access the Lists menu, navigate to Insurance, and then select Carriers. Once you have chosen the desired insurance, click Edit to update the EDI Receiver designation from “CHCL” to “EMCL,” while retaining the existing Change Healthcare Payer ID. After saving your changes, repeat this process for each insurance carrier to ensure a seamless transition to eMedix.

1 thought on “How to setup eMedix for Medisoft when migrating from Change Healthcare”
test